Enterprise Edition (Legacy)
This page contains the documentation of the legacy Enterprise Edition.
Migrate to Professional Edition
Upgrading from the Enterprise Edition to the Professional Edition is straightforward. However, due to many changes from version 1.3.X to version 1.4, it requires some effort. If you follow these steps, you should get this done with ease:
-
Create a BACKUP of your installation and your database IN EVERY CASE
-
Update to the latest HumHub and "Enterprise Edition" module available (
Administration -> Modules) -
Activate your Professional Edition license key (
Administration -> Information -> "Upgrade to Professional Edition") -
Switch to the default theme named HumHub (
Administration -> Settings -> Appearance) -
If you're using any Enterprise Edition features that require a config file entry, e.g. SOLR search or JWT SSO, either comment those parts out or remove them completely.
-
Disable and uninstall the module "HumHub Enterprise Edition"
-
Use the HumHub Marketplace (
Administration -> Modules -> Browse online) to install and activate the HumHub - Professional Edition features you want to use, e.g. Enterprise Theme or Advanced LDAP. -
Revert to your usual theme (
Administration -> Settings -> Appearance) -
Some Professional Edition modules like SOLR search or JWT SSO may require updates to the configuration. You will find detailed instructions for each module in our Marketplace.
Installation
There are two options to obtain the HumHub Enterprise Edition.
Option 1: Marketplace Installation
If you have already installed the HumHub Community Edition, please follow the steps below to enable the Enterprise Edition.
- Log in as Administrator
- Navigate to:
Administration->Modules->Browse Online - Select Enterprise Edition:
Install - Switch to the
Installed modulestab on theModules directorypage - Select Enterprise Edition:
Enable
Activate Enterprise Edition:
Once installed, you can enter your license key at: Administration -> Enterprise Edition.
The Enterprise Theme can be selected under Administration -> Settings -> Appearance.
Option 2: Download Package
You can also download a prebuilt package at: https://download.humhub.com
Please see the Installation Guide for further information.
Updating
The HumHub Enterprise Edition is delivered as a module package in addition to the standard Community Edition.
Like any other module, available updates are displayed at: Administration -> Modules -> Available updates.
Info: You also need to keep the HumHub core platform up to date. More information: Updating HumHub
Features
Enterprise Theme
You can enable the HumHub Enterprise Edition theme by following these steps:
- Navigate to:
Administration->Settings->Appearance - Select
enterprisein the Theme dropdown menu - Click
Save
Theme Customization
Note: This chapter only describes the differences between the standard theming and the
Enterprise Edition.
Create custom Enterprise theme copy
The original enterprise theme is typically located at: protected/modules/enterprise/themes/enterprise
Steps:
- Copy this folder to e.g.
themes/MyEnterprise. - Make sure to set
$baseTheme: "enterprise";or$baseTheme: "enterprise-white";in thescss/variables.scssfile. - Activate it in
Administration -> Settings -> Appearance
Additional Sass variables
Variables starting with $hh-et- are specific to the Enterprise Theme.
See file themes/enterprise/scss/variables.scss to get the list of these variables.
Note: Your theme might need to be migrated if a new HumHub or enterprise version comes out. This will not affect your custom themes, thus your theme views might overwrite essential changes made in the HumHub views. To migrate your theme, check the differences between your custom theme files (views, js, scss) and the enterprise default theme files and apply the necessary changes.
Space Types
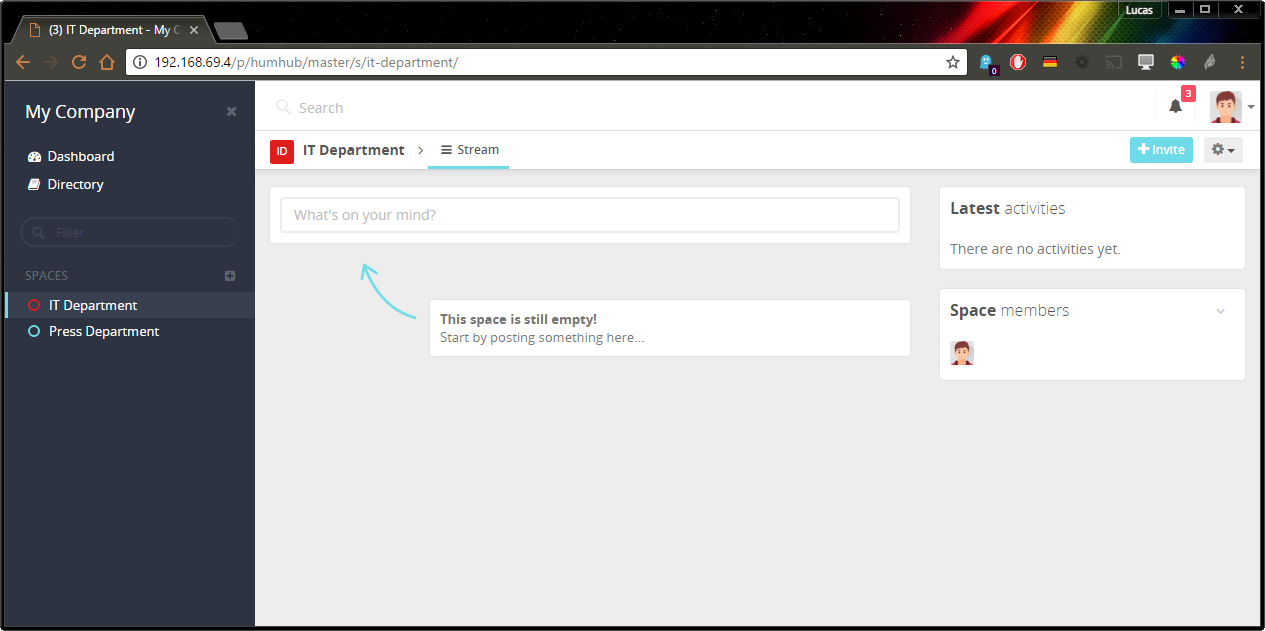
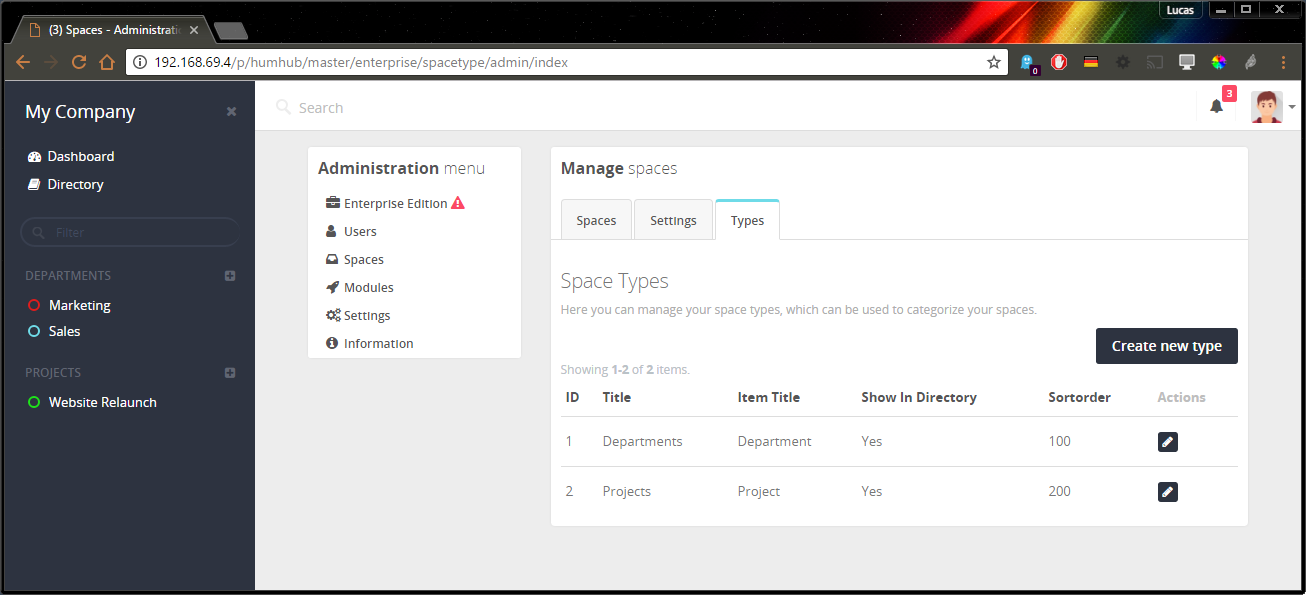
Space types allow you to separate spaces into different categories (e.g. Department Spaces or Project Spaces).
Define Space Types
You can create new space types at: Administration -> Spaces -> Types
Restrict Space Creation
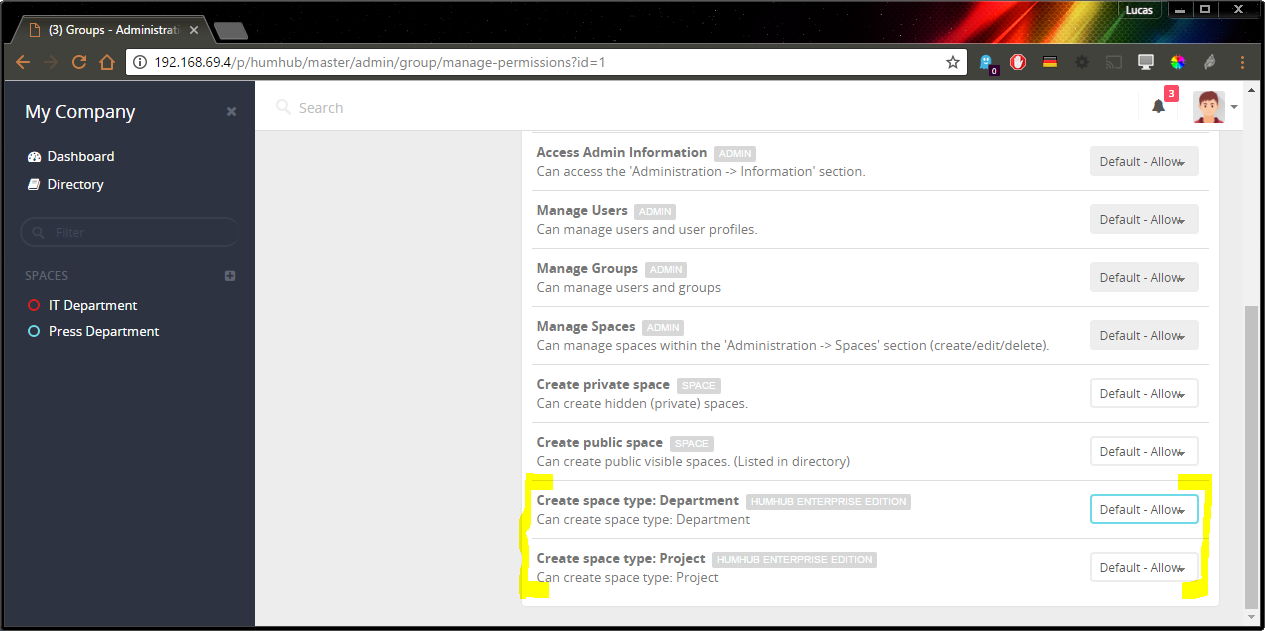
It's also possible to restrict Space creation by user groups.
You can define these permissions at: Administration -> User -> Groups -> Select group -> Permissions
LDAP
The HumHub Enterprise Edition provides some advanced LDAP features.
User Mapping
You can assign users' group or space memberships automatically using the LDAP configuration.
The mapping can be based on:
- User LDAP group memberships (memberOf field, e.g. CN=xyz_space_access,OU=Groups,DC=example,DC=com)
- Part of the user's base DN (e.g. OU=People,DC=example,DC=com)
- Attribute values (e.g. street==Some Street or street=~Street)
Note: The mapping is handled by the hourly cron job and may take some time to take effect.
Space Mapping
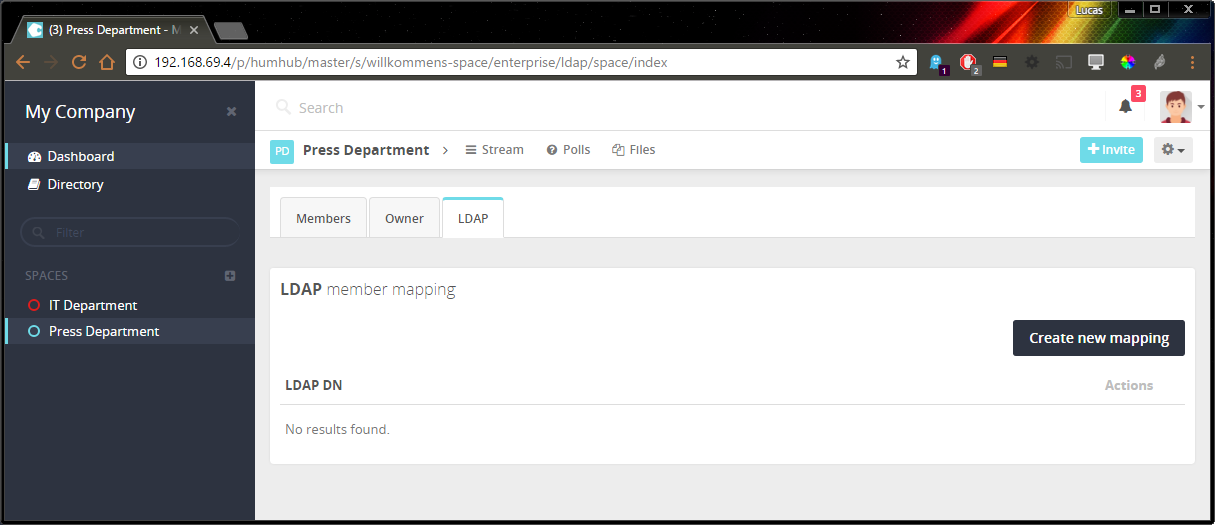
As an administrative user, you can map an LDAP group directly to a space.
Configuration page: Open Space -> Members -> LDAP
Group Mapping
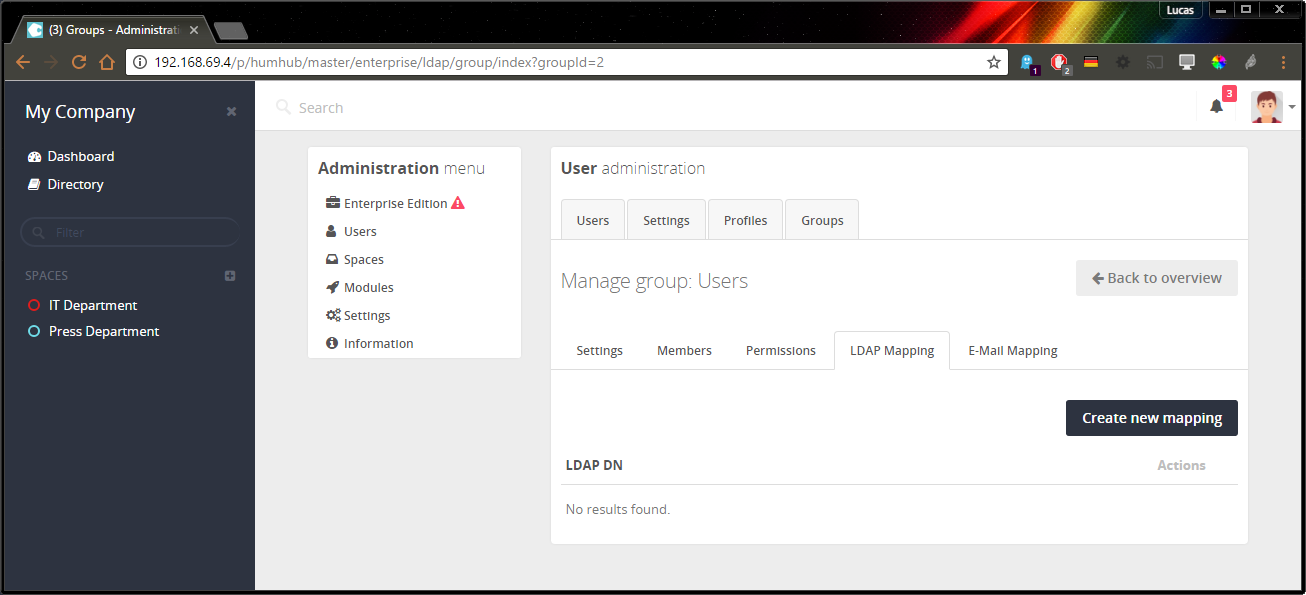
As an administrative user, you can map an LDAP group to HumHub groups, which are mainly used for administrative tasks.
Configuration page: Administration -> Users -> Groups -> Select a group -> LDAP
Profile Images
You can also synchronize profile images from LDAP.
Modify your local configuration protected/config/common.php and add the following section:
<?php

return [
    'components' => [
        'authClientCollection' => [
            'clients' => [
                'ldap' => [
                    'class' => 'humhub\modules\enterprise\modules\ldap\authclient\ZendLdapClientEnterprise',
                    'profileImageAttribute' => 'thumbnailphoto'
                ]
            ]
        ]
    ]
];
Solr
Follow the module installation guide.
JWT
JWT SSO provides a single sign-on mechanism to automatically log in your users with a JWT token.
More information:
Installation
1.) Install the JWT endpoint You can find some example scripts at: protected/modules/enterprise/modules/jwt/examples.
2.) Add the following configuration to /protected/config/common.php
return [
    // ...
    'components' => [
        // ...
        'authClientCollection' => [
            'clients' => [
                // ...
                'jwt' => [
                    'class' => 'humhub\modules\enterprise\modules\jwt\authclient\JWT',
					'url' => 'Enter your JWT endpoint url here',
                    'sharedKey' => 'Enter your shared key here',
					// Other configuration options
                ],
            ],
        ],
        // ...
    ],
    // ...
];
Advanced configuration
Example with all possible configuration options:
'jwt' => [
    'class' => 'humhub\modules\enterprise\modules\jwt\authclient\JWT',
    'url' => 'https://ntlm.example.com/jwtclient/index.php',
    'sharedKey' => 'XKqSoxWRcLVDtveMbhQ3oxgvogWT2ef3KpKLOF_gZgwTJyznr6UDi2SCWgSeaEUo5T1_bBYbR_blojv94Sr523zDQ_CzTETN4gMYyx6xU4hsF6HGnCdoFwmd9rOTY5MiIdGX1wdwP3FvpyS0bbmG17xfTtU87gySiQaJjQWq9J2SdLOu73xPej5l1k5BA2ab-taXogZi-STi1q30w0T0kU3SGJ-fYSZO5lGNI3pws313oh83Wby8IJxhS9GZjLjOHpMO7rveoUHE6cGOXm8SjuxsJTfChPl3sGhiA2Wc-cJ-uKaN37T7qQxKeZNjXFtNGTbXwOhXbtELP_ZUy66zPg',
    // Other configuration options
    // Title of JWT Button (if autologin is disabled)
    'title' => 'Company SSO Login',
    // Automatic login, when allowed IP matches
    'autoLogin' => true,
    // Limit allowed JWT IPs
    'allowedIPs' => ['192.168.69.1', '192.168.1.*'],
    // Leeway (seconds) for token validation
    'leeway' => 660,
],
E-Mail Whitelisting
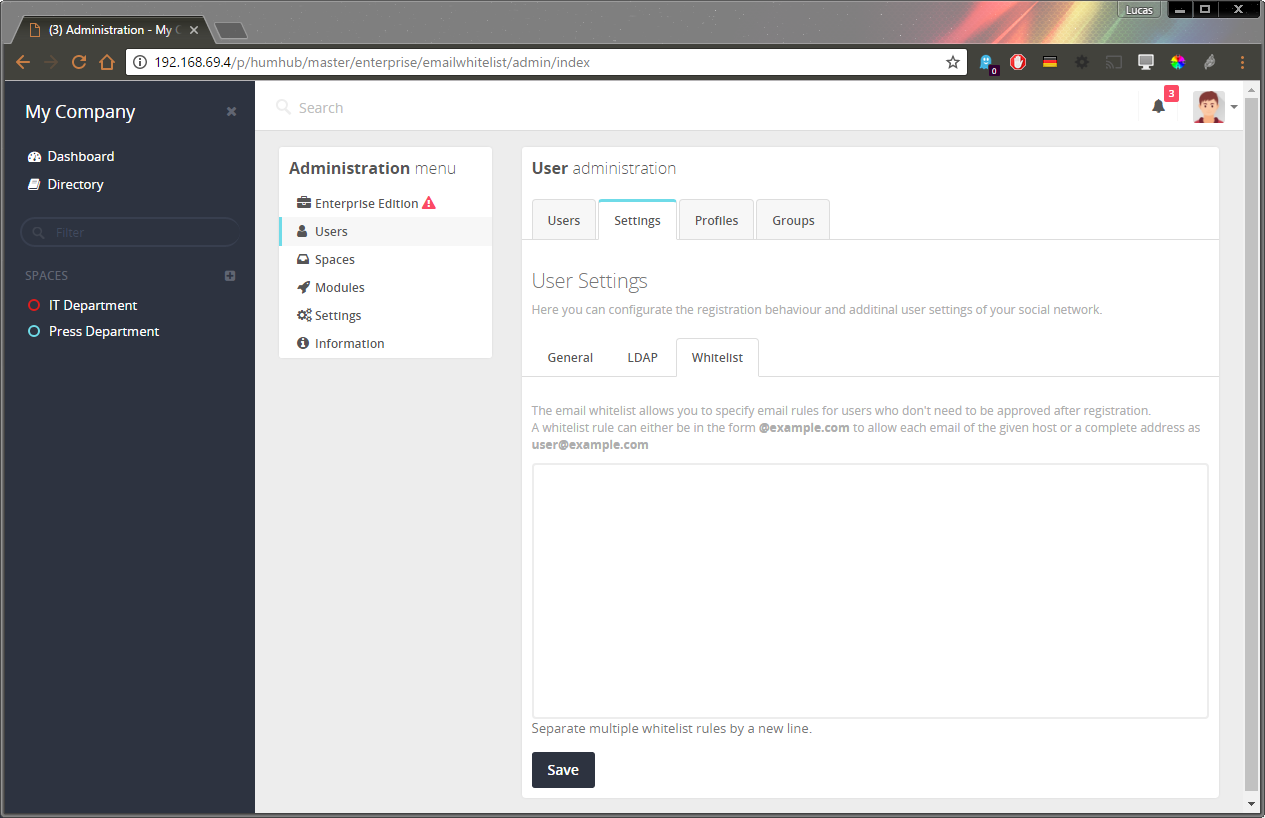
The email whitelist feature allows you to specify email rules for users who don't need to be approved after registration.
You can define these rules at: Administration -> Users -> Settings -> Whitelist.
E-Mail Group Mapping
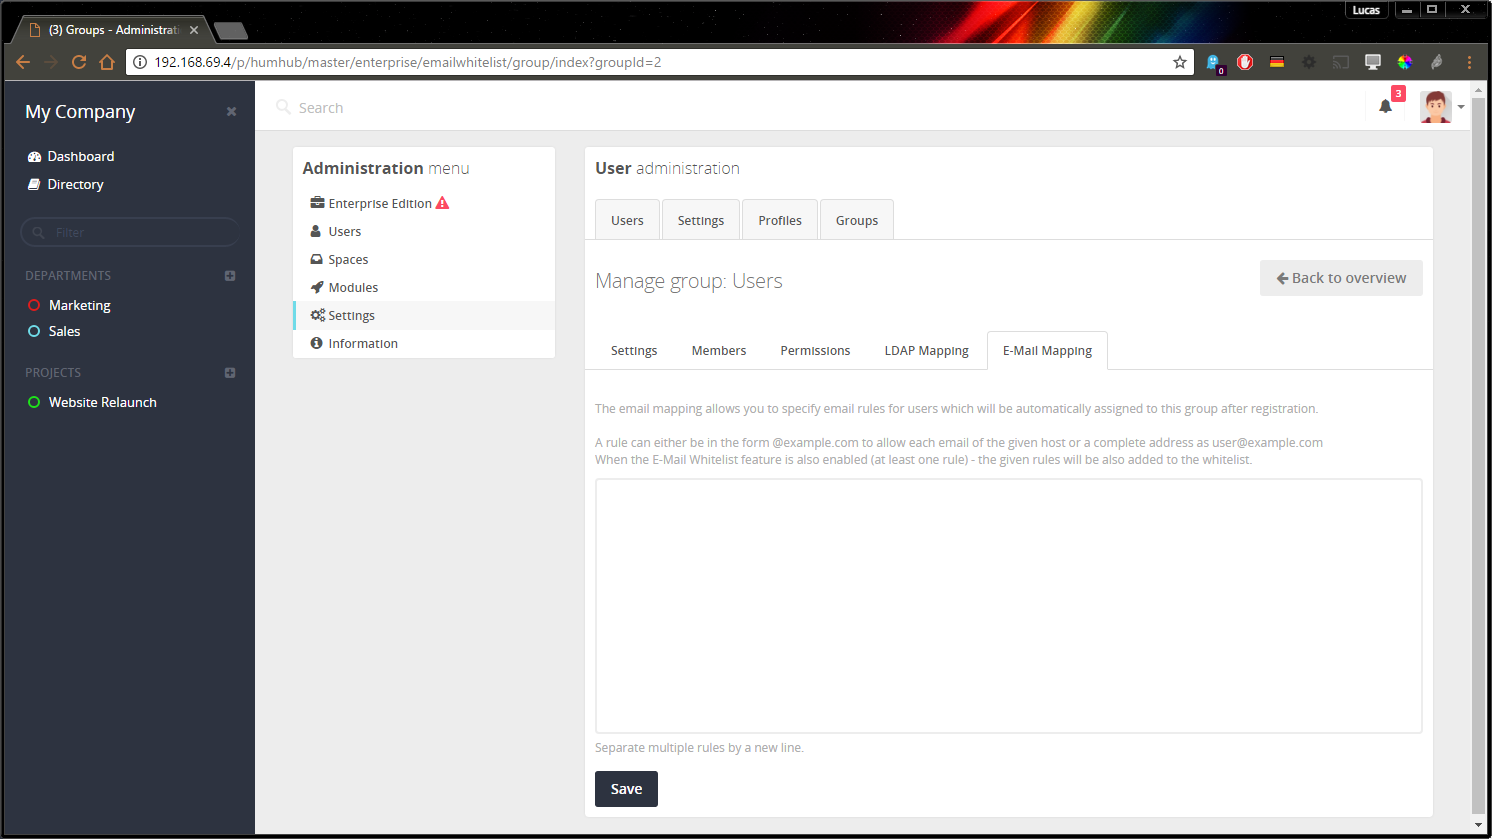
The email mapping feature allows you to specify email rules for users who will be automatically assigned to a specified group after registration.
You can define these rules at: Administration -> Users -> Groups -> Select a group -> E-Mail Mapping.